If you used Insights during previous academic years, pupil details from those years will be automatically stored. At the start of a new academic year, simply set up your new classes and assign pupils to them. There’s no need to import pupils again either manually or using a CSV file.
Note: Make sure you’ve created the class first. Please refer to Creating a new class for step-by-step instructions.
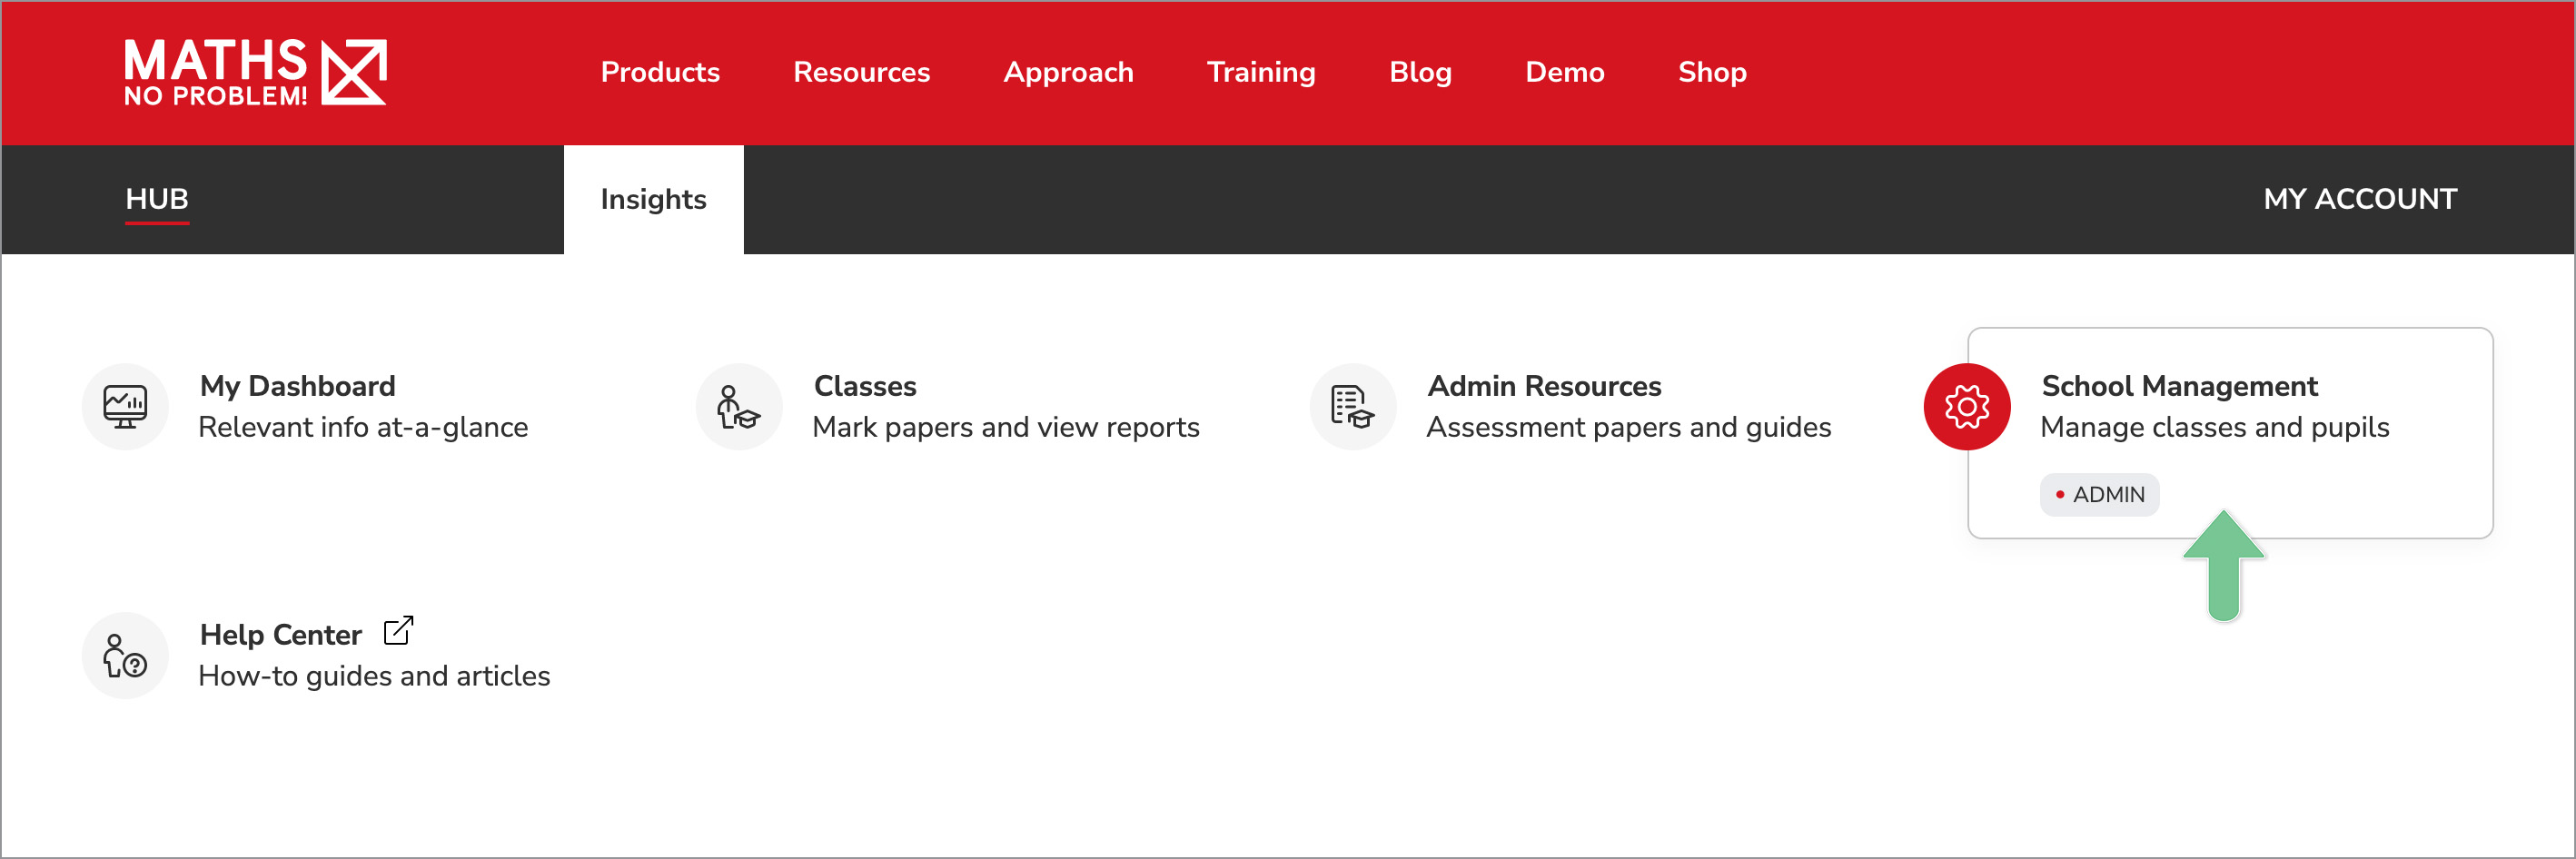
- To start assigning pupils to a class, hover over Insights in your menu bar and click School Management. This brings you to the School Management page.
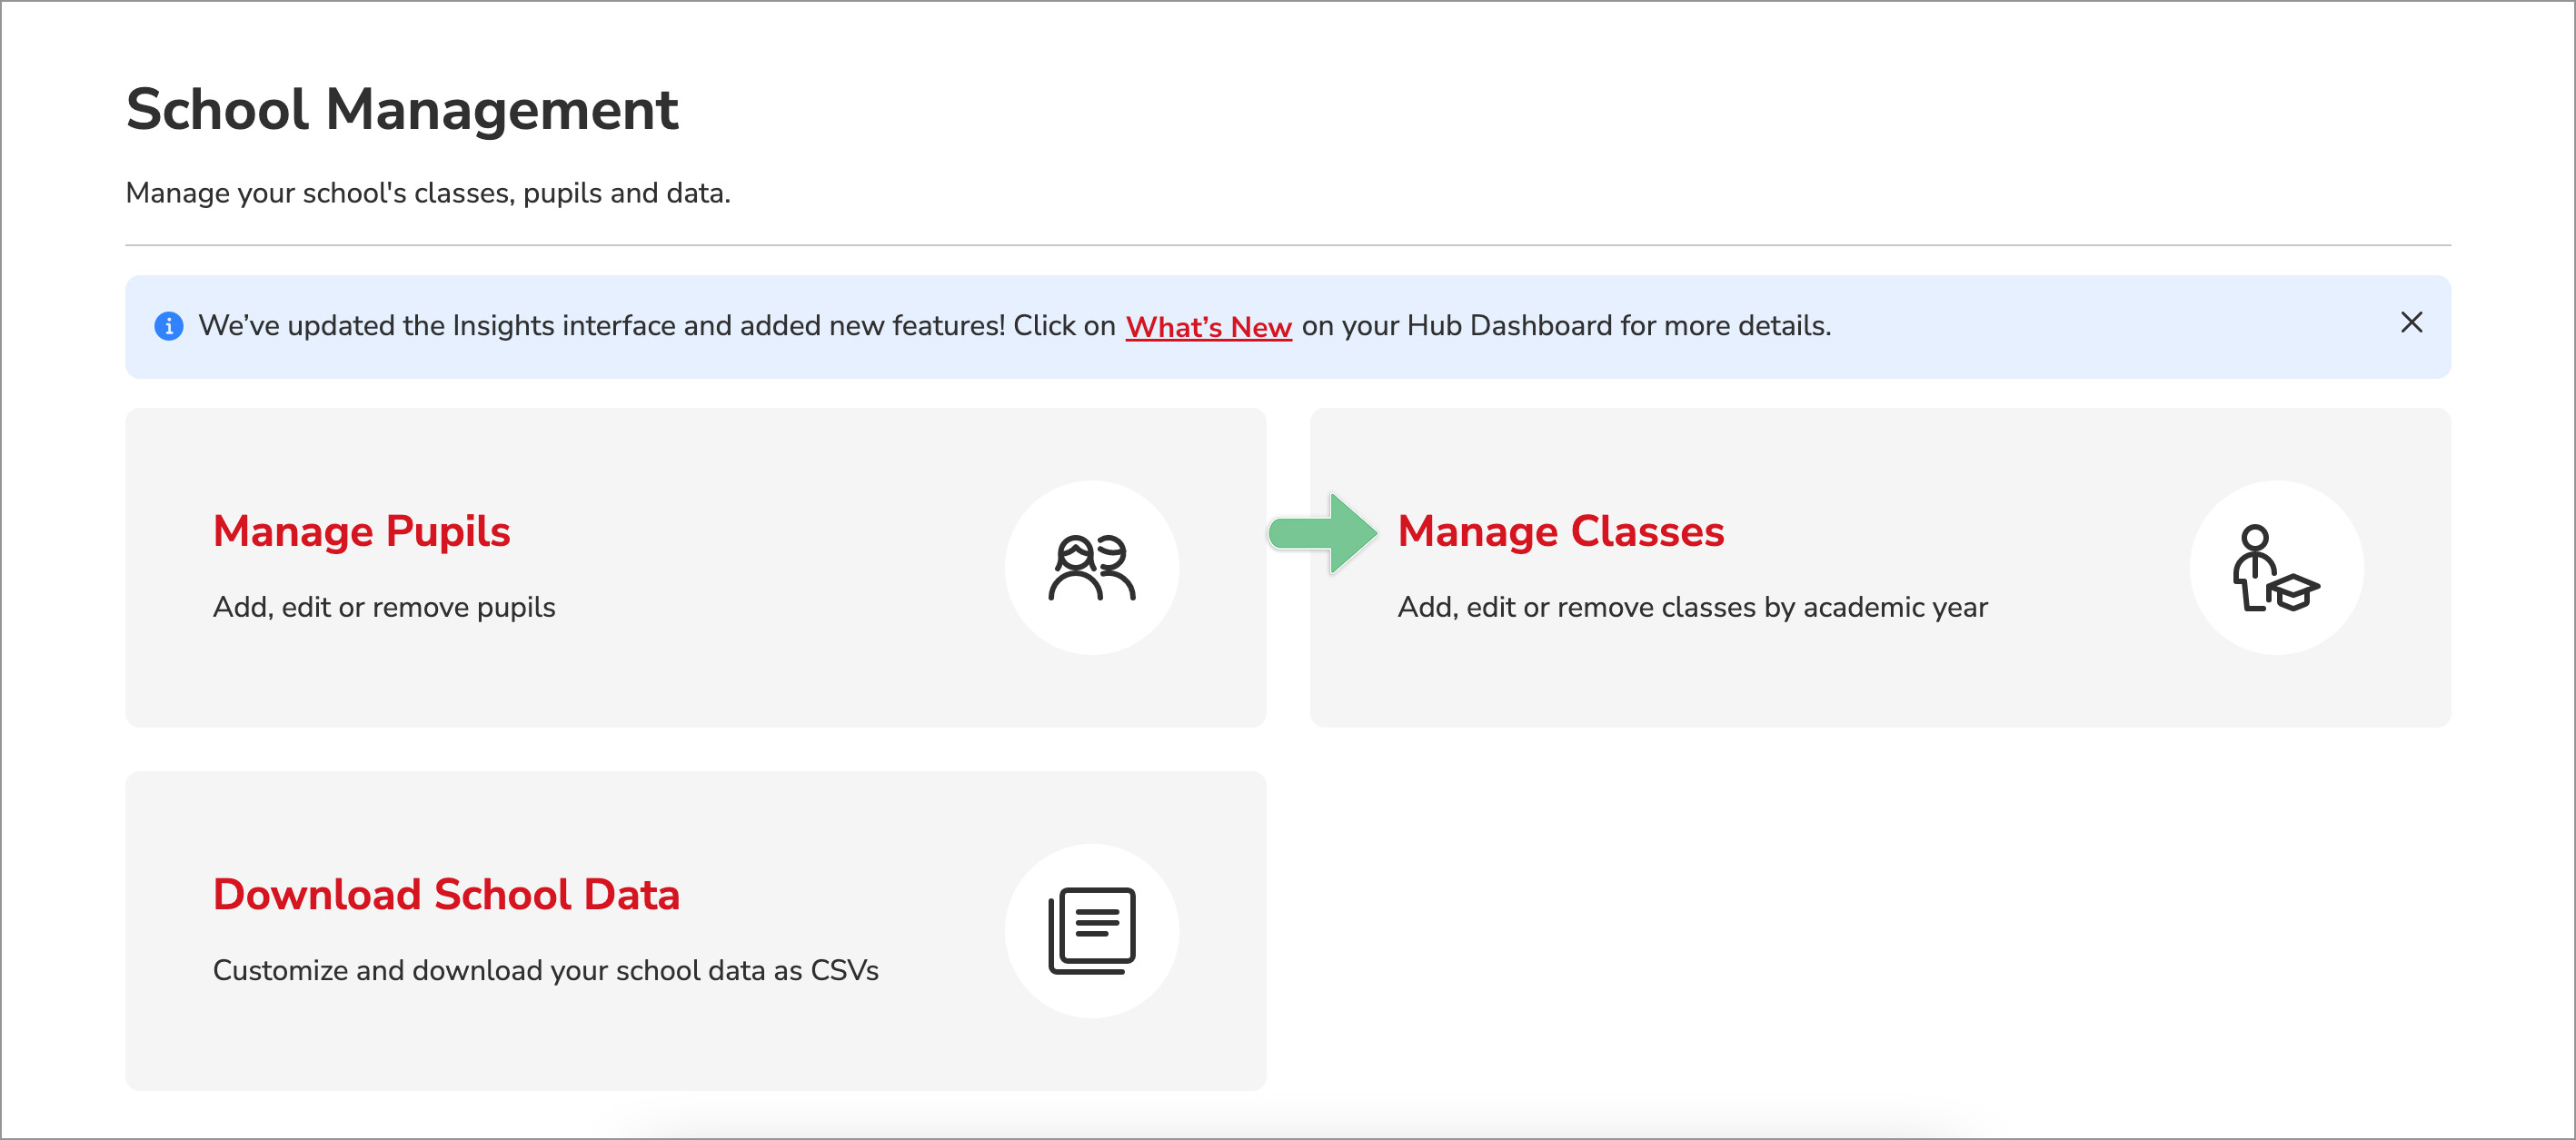
- On the School Management page, click Manage Classes.
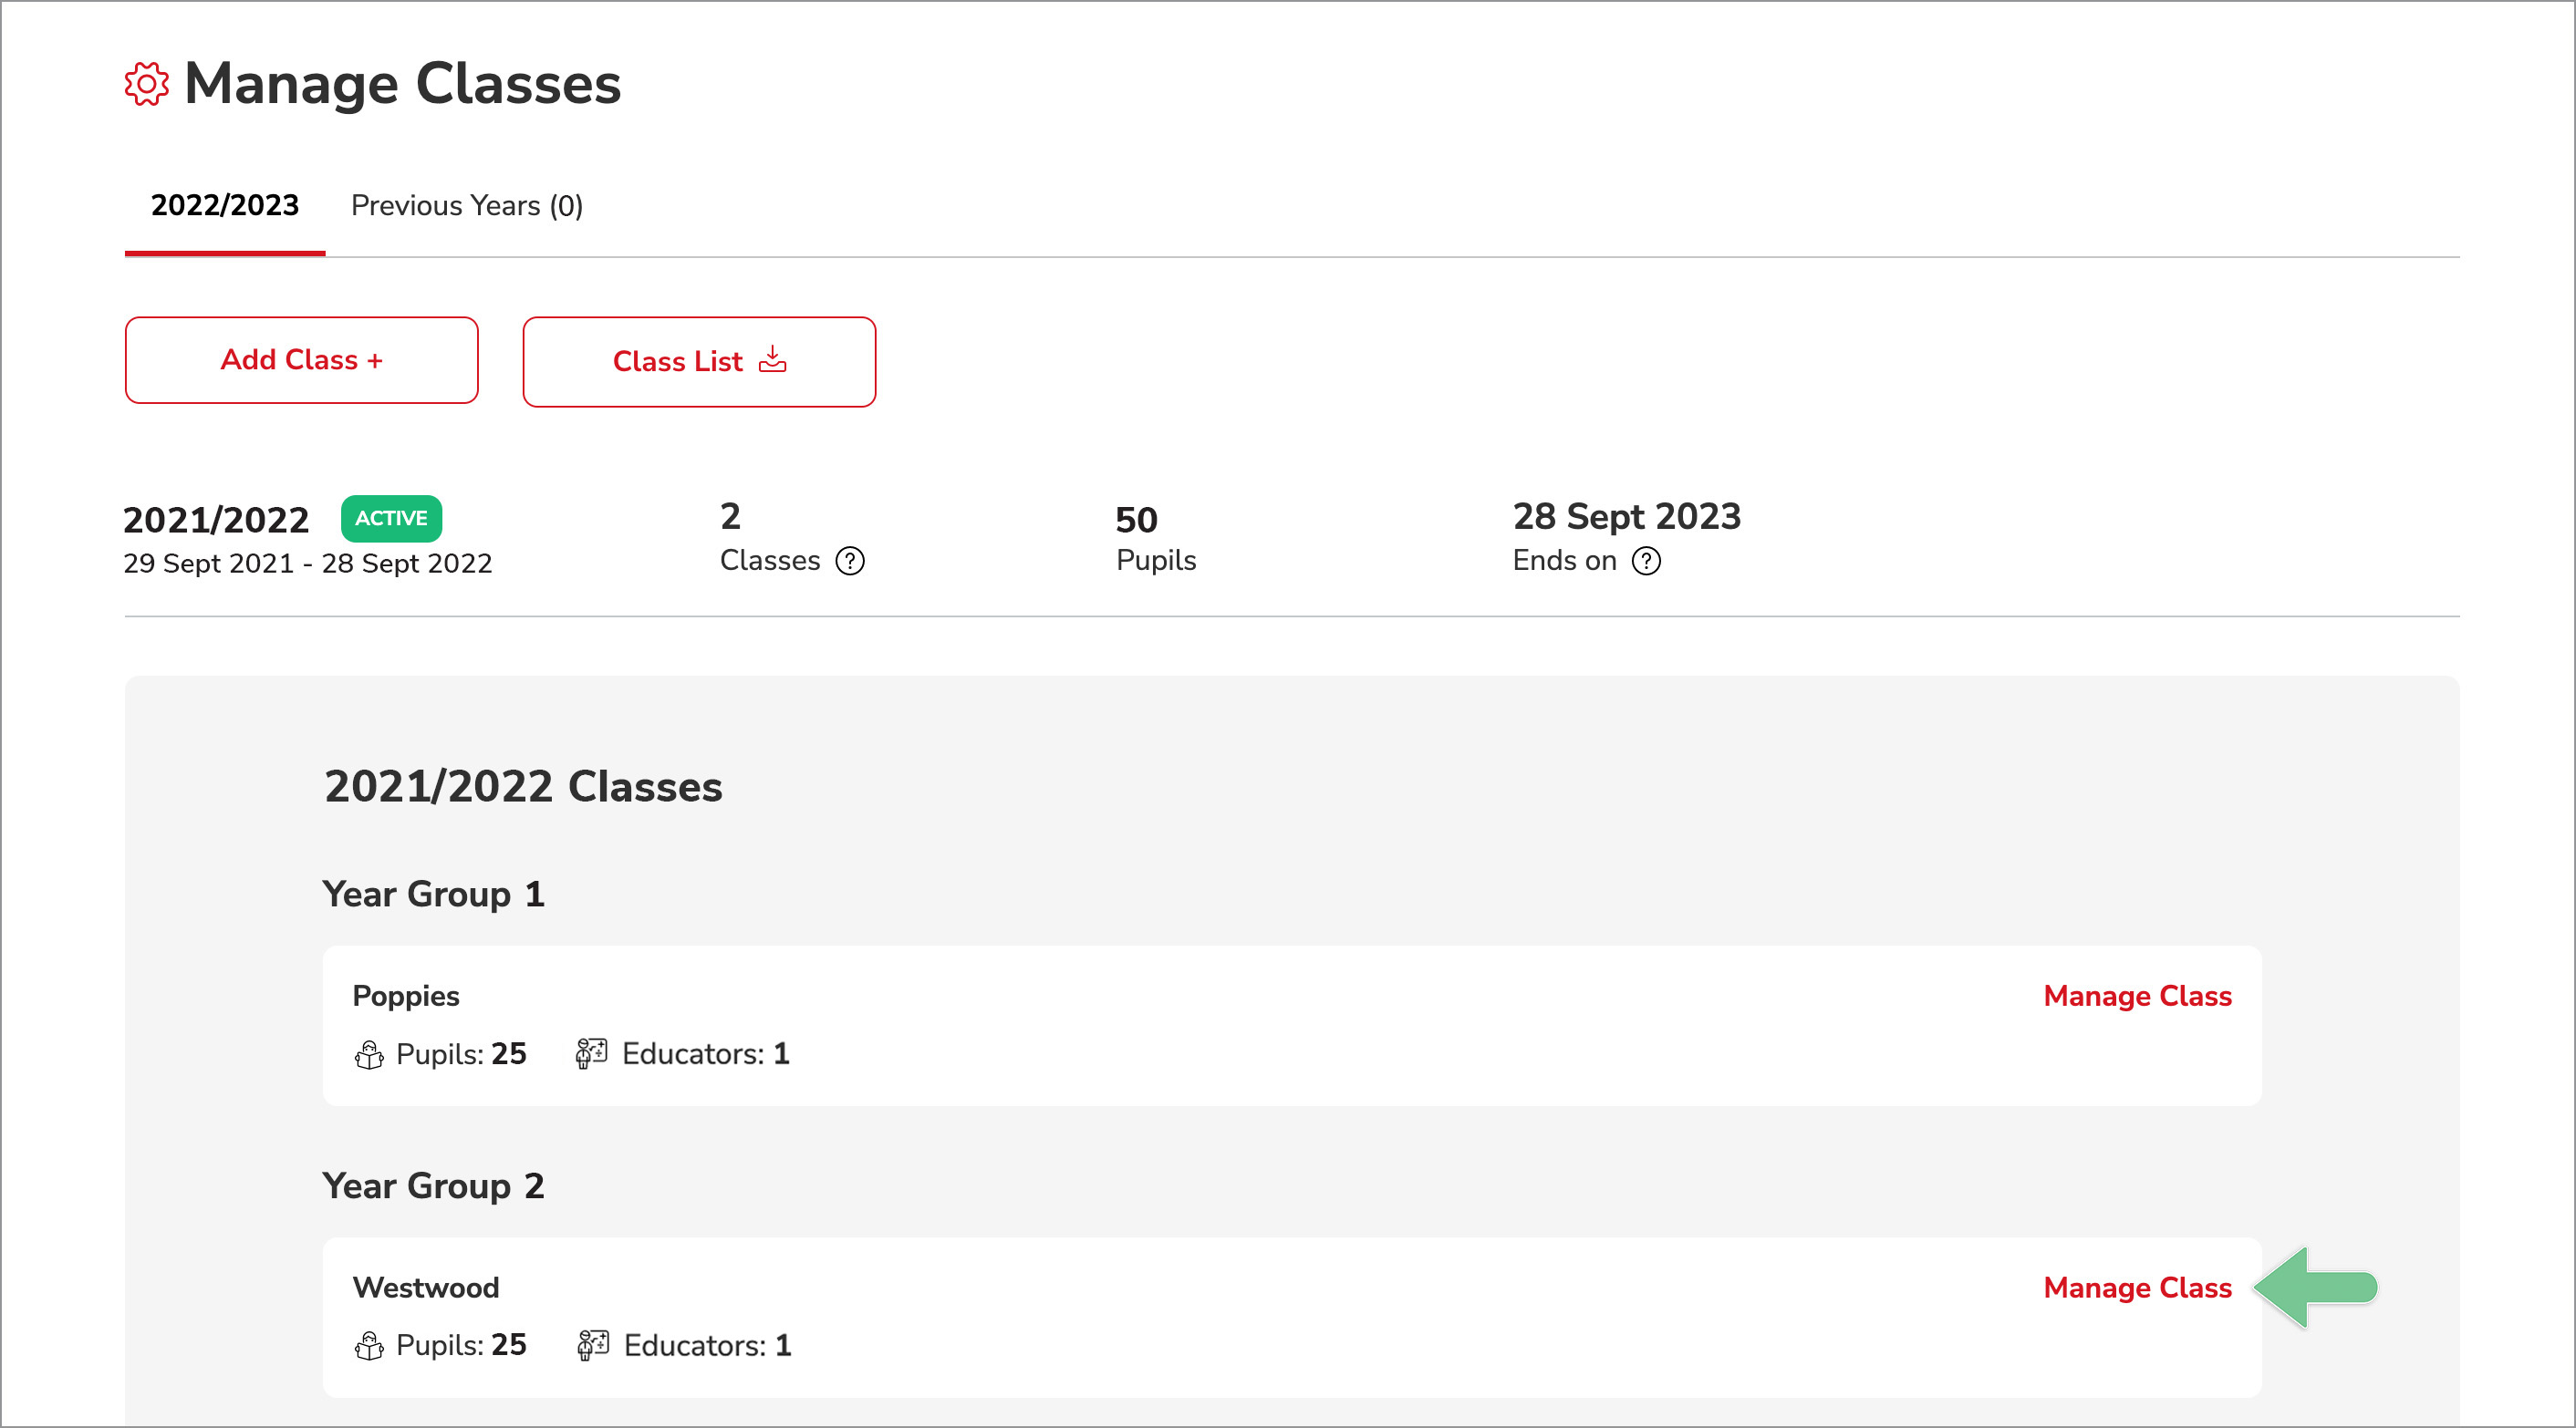
- On the Manage Classes page, click the tab with the relevant academic year (1), then click Class Settings (2) for the class you want to assign an educator to.
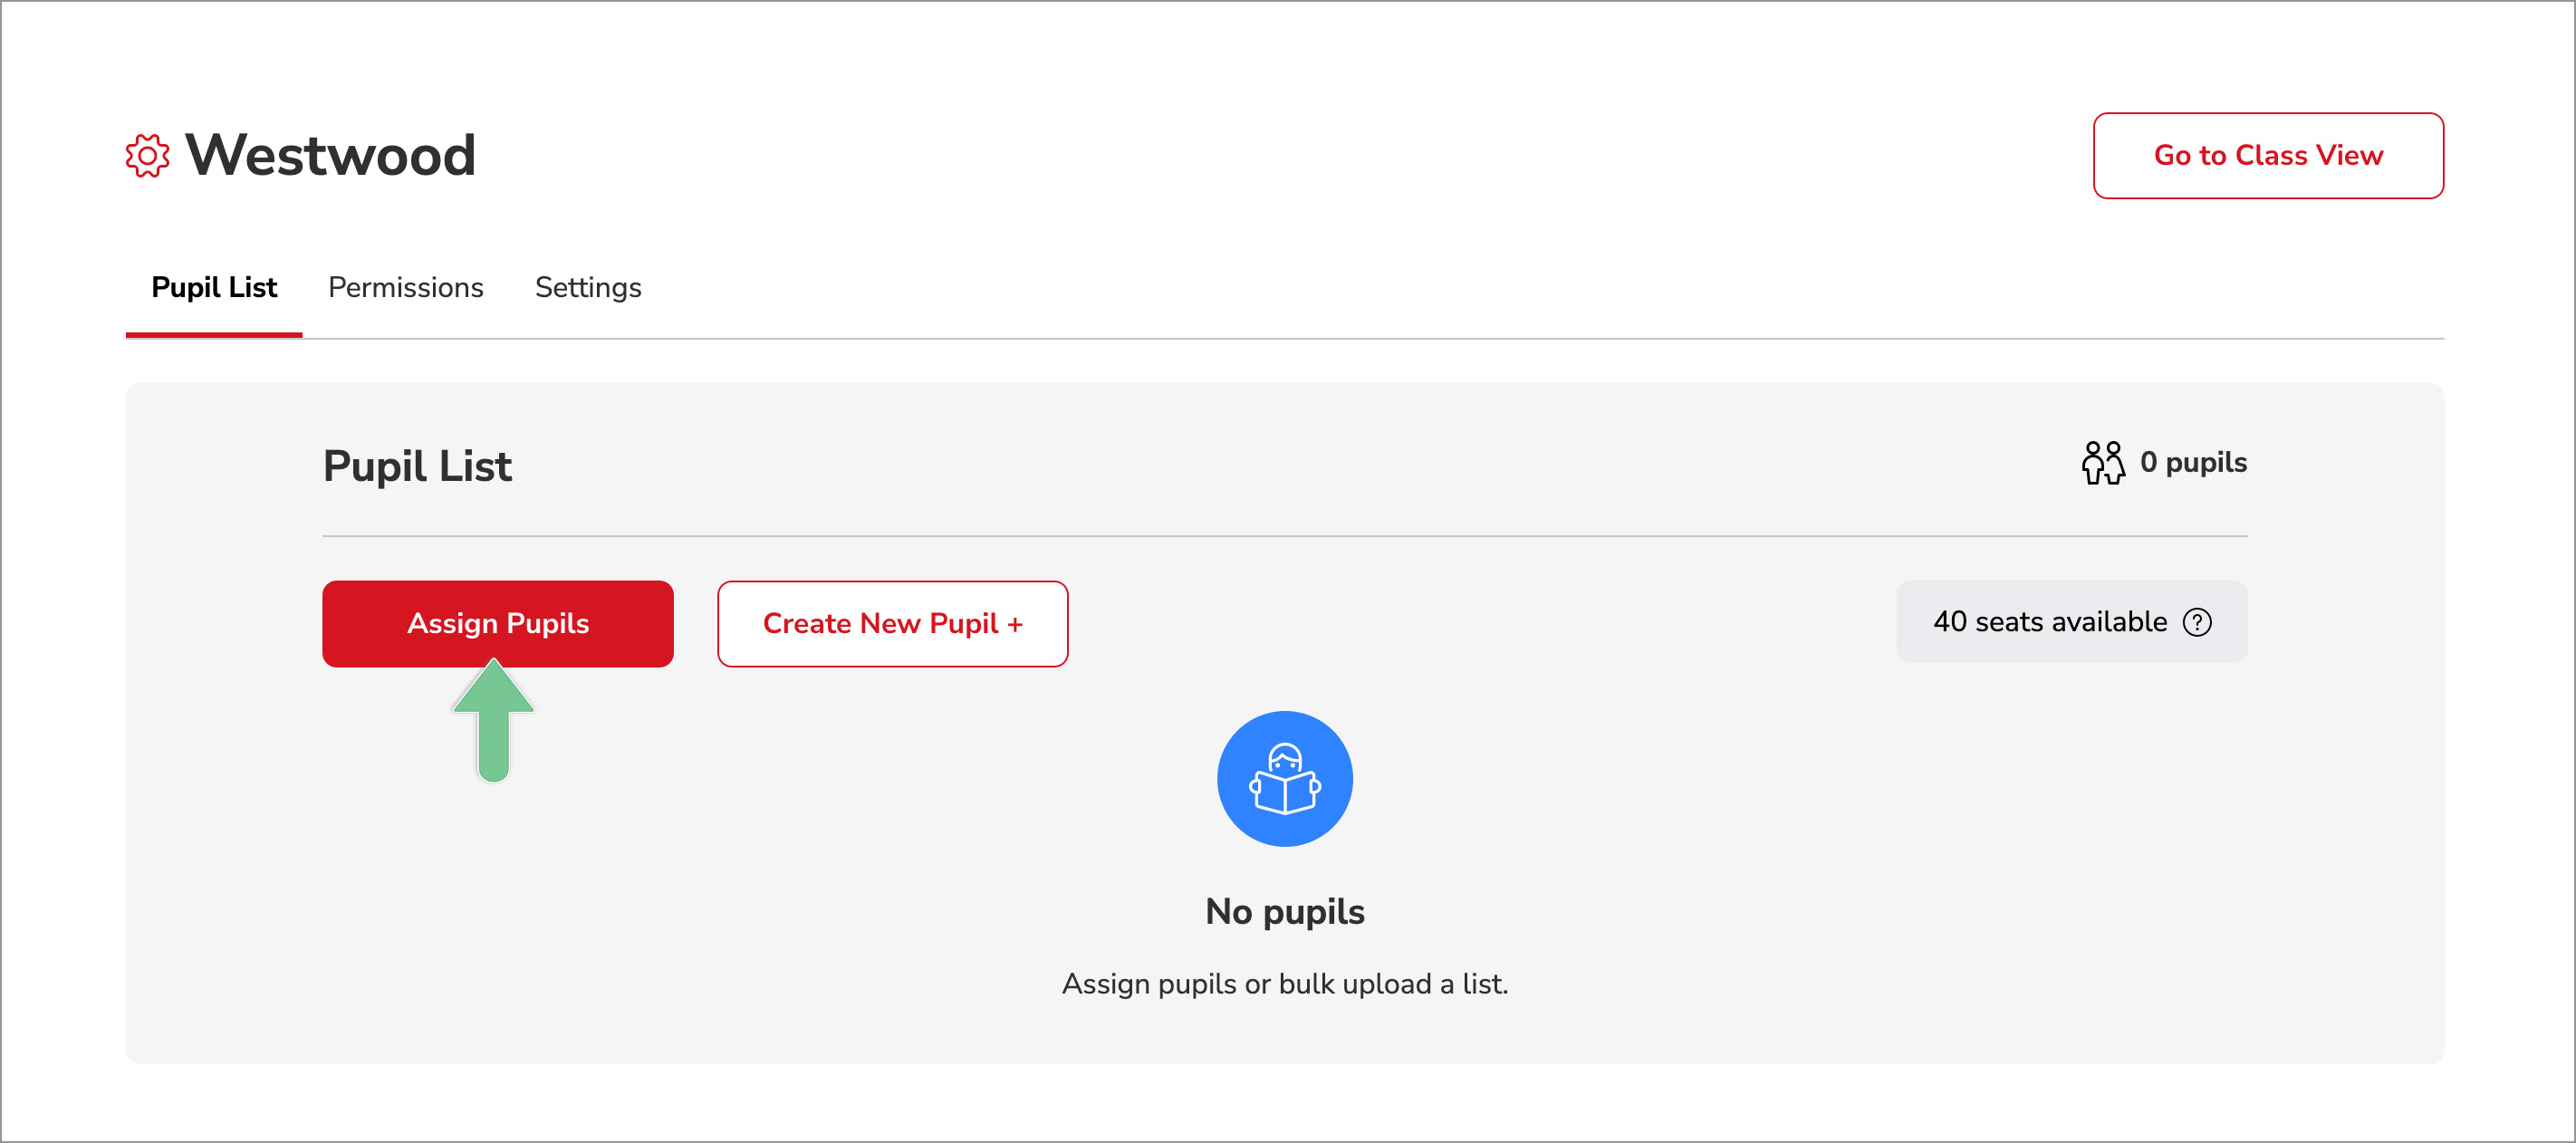
- Click the Assign Pupils button under the Pupils tab.
- Assign Pupils
-
If you have used Insights in previous academic years:
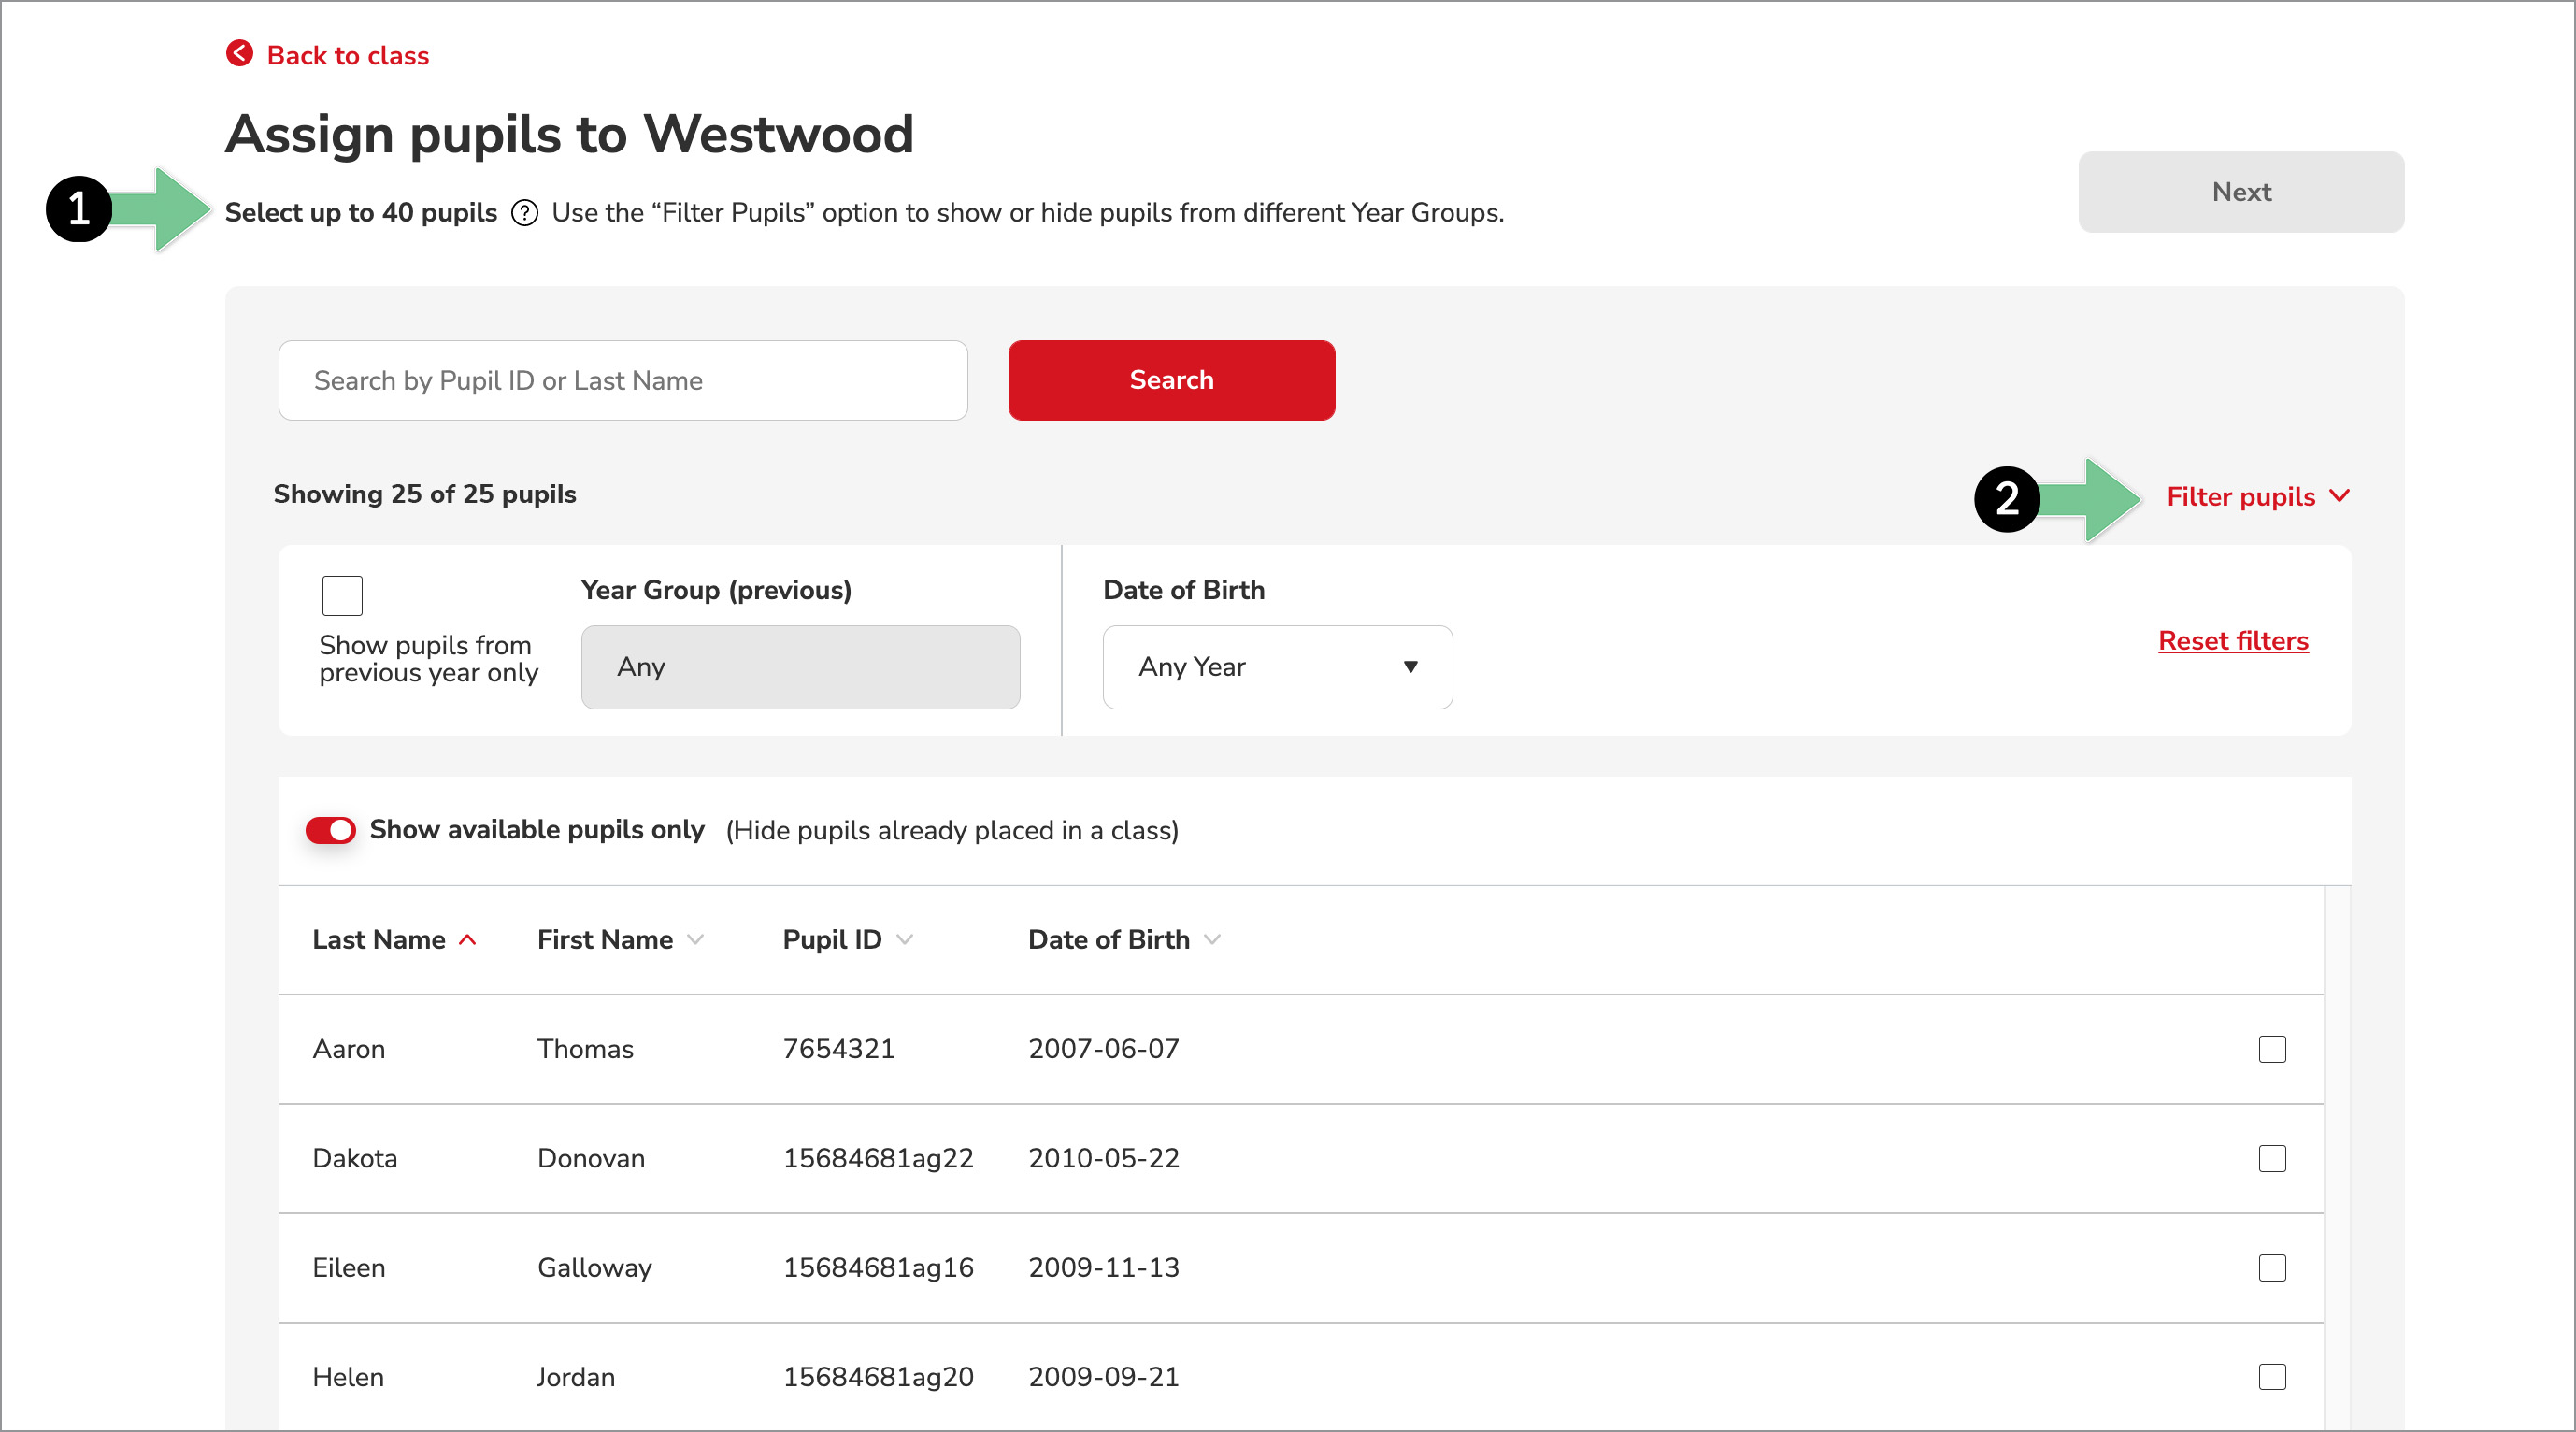
On the Assign Pupils page, you can select from the Available Pupils List (1). Depending on your subscription, you can select up to 40 pupils from the list. To filter the list by birth date or year group, click Filter Pupils (2).
Note: For Year 2 to Year 6 classes, Insights automatically generates a list of pupils from the previous academic year who are most likely to be assigned to new year group. If you don’t see a specific pupil in the list, it means they have already been assigned to a class.
-
If you are new to Insights:
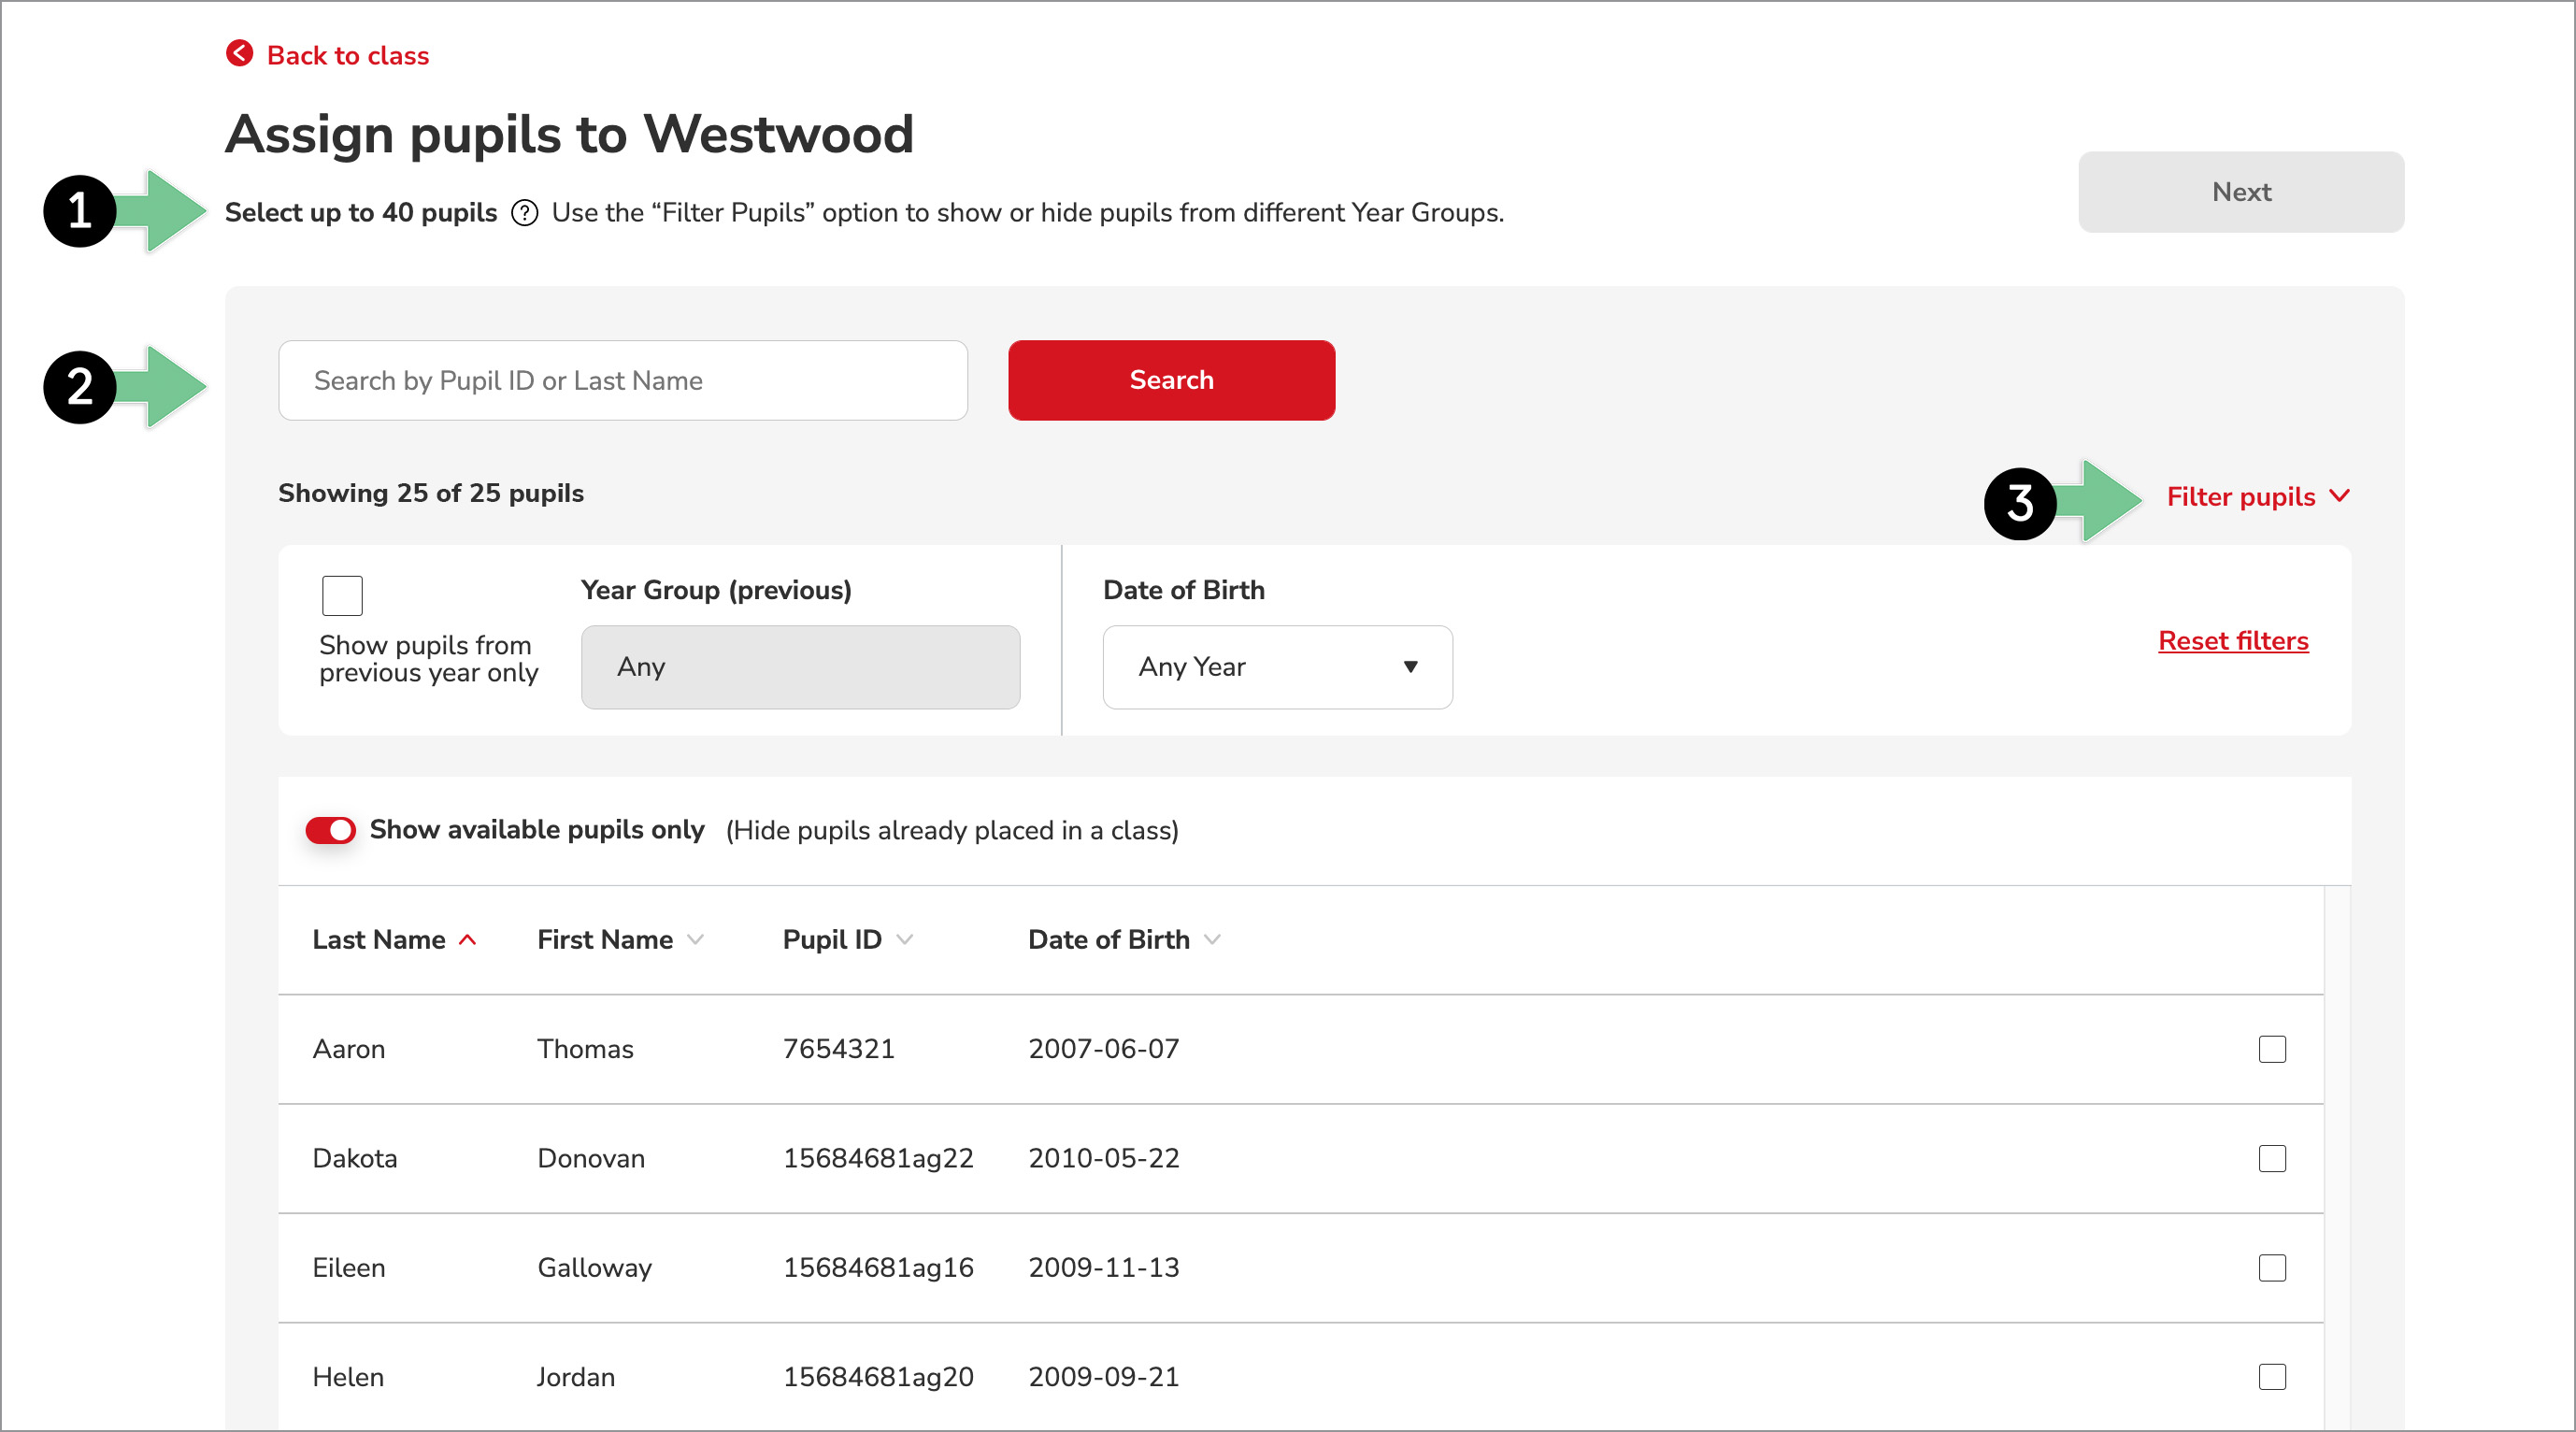
Once on the Assign Pupils page, you can select from a list of available pupils you want to assign to your class.
- If you do not see a specific pupil in the list, it means they have already been assigned to a class.
Note: You can select up to 40 pupils from the list or more, depending on your subscription details (1). You can also search for pupils by Pupil ID or Last Name (2) and filter the list down by Date of Birth (3).
-
-
Click Next to review your selections. Then choose one of the following options:
- Click on Edit Pupil Selection or Previous to change your selection
- Click on Assign Pupils to complete the process
- Click on Back to Class to exit the process without saving

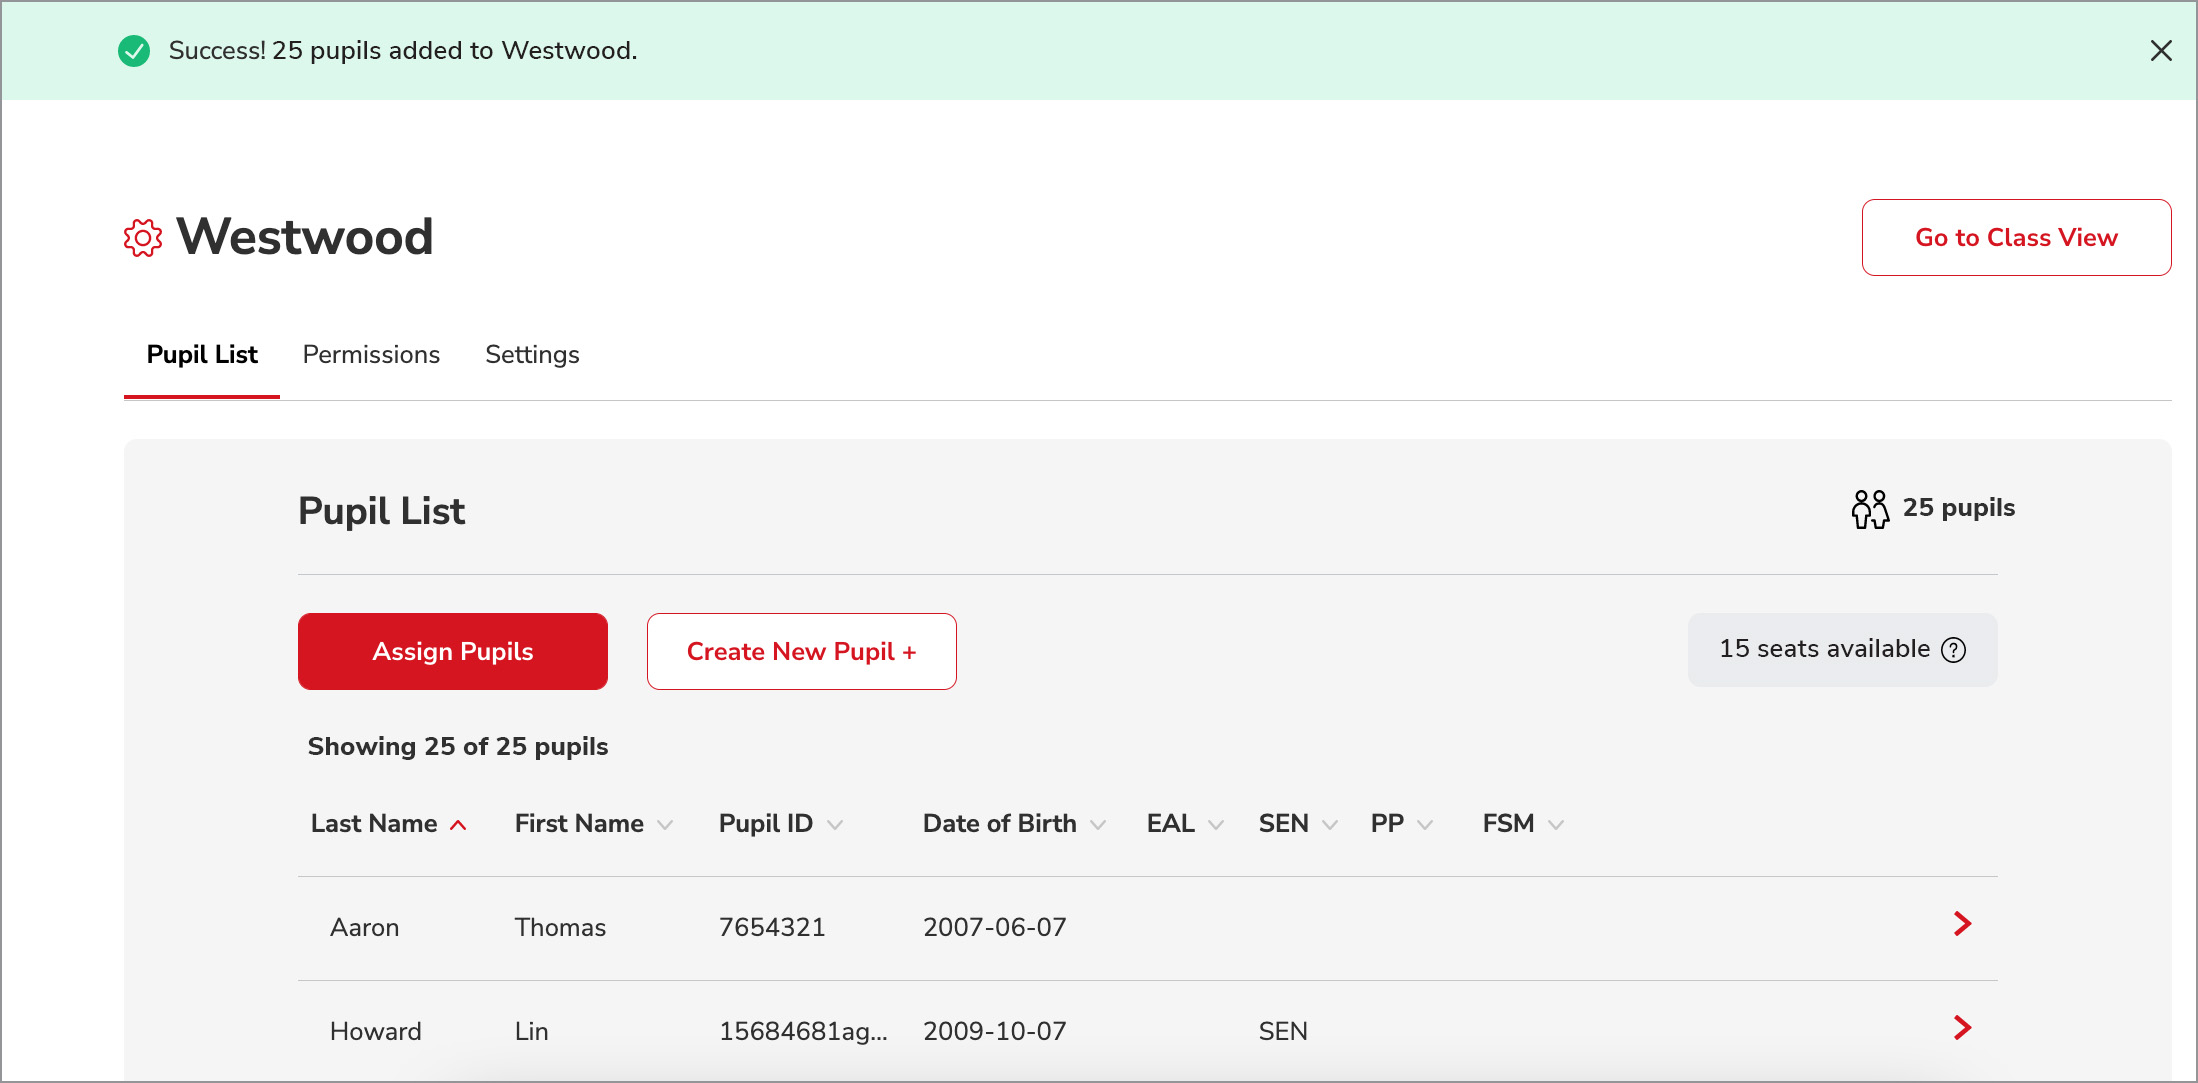
- Once the pupils have been successfully assigned, you’ll be brought back to the Class page, and the assigned pupils will appear under the Pupils tab.
Tip: You can also assign one or more pupils manually from the Pupil Profile page. Please refer to Editing a pupil profile for step-by-step instructions.
